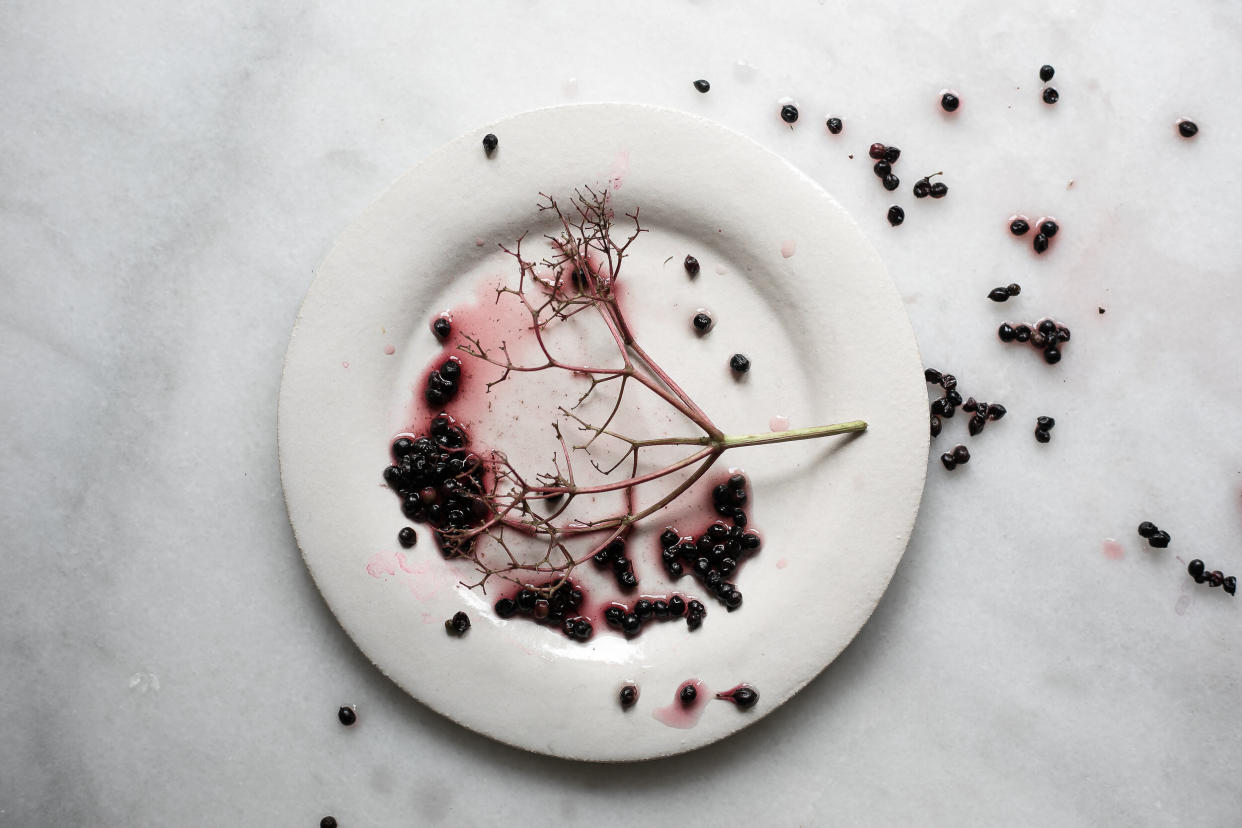
A beginner's guide to foraging

The coronavirus lockdown hasn’t been easy on anybody.
In the midst of the uncertainty, though, many people have become accustomed to a slower pace of living and an appreciation for the beauty that can be found on our doorsteps.
People have found themselves discovering new local walks, spending more time in the garden and foraging for local fruit and freshly grown flowers.
On 10 May, the government announced that we can spend more time outdoors by lifting the once per day rule on daily exercise from 13 May.
This provides us with a great opportunity to take our foraging to the next level - a hobby we can take up during the lockdown and beyond.
Read more: These tiny squirrel picnic tables have gone viral
Foraging isn’t a new pastime, in fact, it can be traced back to hunter-gatherer tribes who would forage around the local area for plants, herbs and fruits.
With the promise of a more sustainable way of life, and in the absence of easy access to our usual luxuries, time activity is undergoing a renaissance.
Selecting your cuttings
It’s easy to take the gung-ho approach to foraging, but that’s not very in keeping with the slower pace of life associated with this activity.
Instead, Sarah Hemsley of A Slow Gathering recommends taking a measured approach: “Take cuttings on a clear dry day, never when it’s raining. The best time to forage is around midday when everything will be looking it’s best.”
It’s also important to consider taking cuttings from waist height and above, particularly if you’re foraging for fruit. This is because “foliage low to the ground has a chance of having been sprayed with dog or fox wee,” explains Hemsley.
Read more: Sales of compost and seeds up 250%
The slow living approach
Part of the foraging experience is taking everything back to basics.
The coronavirus pandemic has taught us to take moments to enjoy the smaller things in life amidst the difficulties. That’s a real part of the gatherer mentality.
It doesn’t need to be rushed or done with any purpose. It should provide you with time to explore what’s around you and discover new things.
“Be considerate by only taking the amount you need and by spreading the cuttings out over a wider area. Never strip a tree or bush bare.” Hemsley says.
That’s the lovely thing about foraging, it’s a considerate hobby and many foragers will make sure their produce (if they’ve found a great spot) is growing back year after year before taking it all for themselves.
How to know if something is poisonous
There are many rules beginners need to consider when it comes to foraging, and Hemsley says that “if in doubt, then don’t take cuttings of anything”.
Lucky for us, expert foragers love sharing their knowledge with novices, so there are plenty of websites to get stuck into.
Totally Wild UK has a great plant, coastal and mushroom guide to get your teeth stuck into, with easy to follow information on what is and isn’t safe.
Take into consideration the location you’re picking from, too. Busy main roads are not favourites amongst foragers.
“Apart from the danger of passing cars, the air around these areas is polluted with toxins from car exhausts and so anything that grows nearby will have absorbed the same toxins.” Hemsley adds.
Read more: The best affordable outdoor furniture
A recipe for beginners
A lovely introduction to foraging comes in the form of an elderberry tonic recipe put together by A Slow Gathering.
Berries provide us with an abundance of vitamins and anti-oxidants when we’re feeling a little bit under the weather - whether that’s mentally or physically.
This tonic can be added to a gin for a touch of raspberry or it can be enjoyed warm with a slice of lemon to make you feel better inside and out.
Prep time: Foraging time + approximately 30 minutes
Cook time: 30 minutes
Makes: depends on amount of berries used and subsequent liquid made.
Ingredients:
Freshly picked Elderberry heads, berries removed from their stems and washed
500g of Sugar to every 1 litre of liquid
Enough water to cover berries in pan
1 Tbsp Cloves, 1 or 2 Cinnamon sticks or a thumbnail chunk of Ginger to flavour ( optional )
You will also need:
A non -reactive saucepan
A fine mesh sieve
A heat resistant measuring jug
Sterilised* glass bottles or jars
Method:
Place the rinsed berries in the pan and add water to just cover.
Bring to the boil then reduce to a gentle simmer.
After approx. 20 minutes the berries should be softened, turn off the heat.
Mash gently with a potato masher or fork.
Pour the contents of the pan through the sieve into the jug and discard the pulp. Make a note of the quantity of liquid and measure sugar out accordingly.
Return the liquid to a clean pan with the sugar and spices if using and bring to the boil.
Allow to boil for 10 minutes until sugar is dissolved and the liquid is thickened.
Remove the spices with a slotted spoon and pour into the sterilised* jars and bottles.
*A NOTE ON STERILISING
There are several different ways to sterilise, but this is my preferred method;
Pre heat oven to 180ºC.
Wash the jars/bottles and lids in hot soapy water, rinse in clean water and allow to drip dry ( do not dry with a cloth ).
Place jars and lids upright on a baking tray and place in the oven for 10 minutes.
Fill the jars with the syrup while still hot and place lids on top. Tighten lids when cool to touch.


