Three easy ways to make your own non-medical face mask at home
Looking for more of the best deals, latest celebrity news and hottest trends? Sign up for Yahoo Lifestyle Canada’s newsletter!
There is no evidence to support that wearing a face mask will protect you from COVID-19. You should still avoid touching your face, wash your hands frequently for 20 seconds using warm water and soap and practice social distancing.
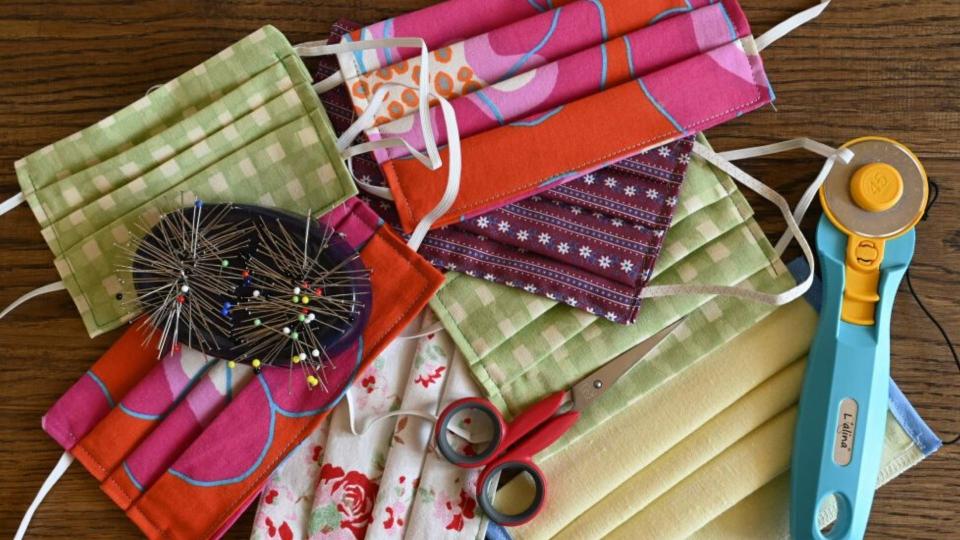
As the number of confirmed COVID-19 cases in Canada continues to climb, more people are opting to wear non-medical masks as an added measure to help prevent the spread of the virus.
On Monday, Canada’s Chief Health Officer Theresa Tam stated during a press conference that transmission pattern analysis reveals that it’s possible for people to transmit the virus to another person before they begin develop any symptoms themselves.
“It has become clear” that more people have become infected through pre-symptomatic transmission than experts previously believed, Tam explained. She also confirmed it’s possible for a person to never experience symptoms of the novel coronavirus, but act as a virus carrier and unknowingly infect others.

With personal protective equipment (PPE) already in short supply for healthcare workers, many Canadians have taken to wearing non-medical, homemade face masks in public. Although federal health officials previously deemed it unnecessary for healthy people to wear masks, Tam said the latest evidence has prompted the special advisory committee COVID-19 have come to the consensus that wearing non-medical grade face masks serve as an added precaution against transmission.
ALSO SEE: Button headbands for face masks: Where to buy them online
“Wearing a non-medical mask, even if you have no symptoms, is an additional measure that you can take to protect others around you in situations where physical distancing is difficult to maintain, such as in public transit or maybe in the grocery store,” Tam told reporters.
Despite the committee’s latest update to the public, Tam warned that there is no evidence to support that the person wearing the mask is protected from the virus. According to Tam, wearing a non-surgical mask helps reduce any respiratory droplets from the person wearing the mask from infecting other people or surfaces.
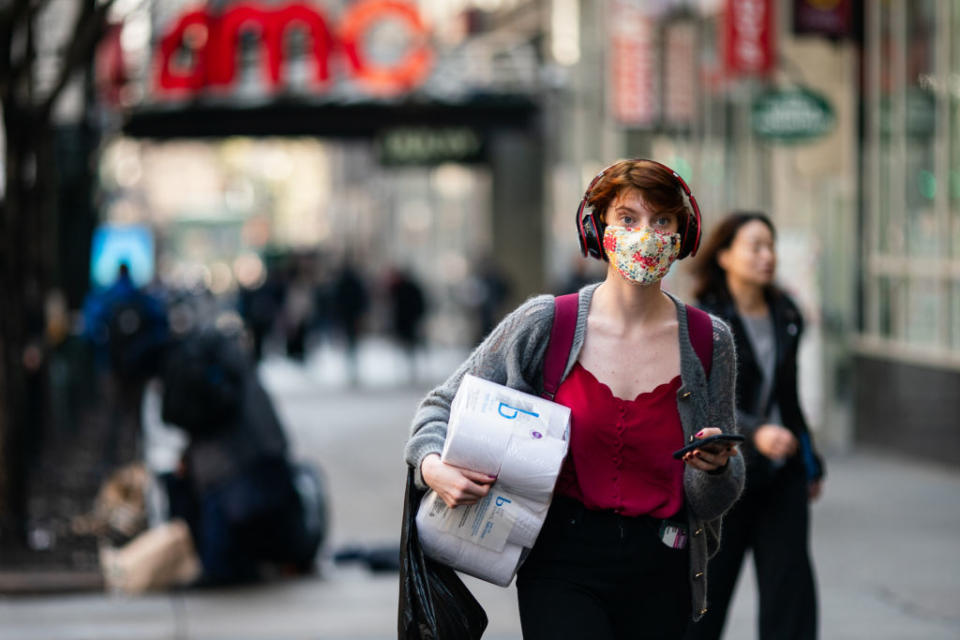
“You must continue to practise physical distancing and good hygiene by frequent hand-washing and regularly disinfect high-touch surfaces,” Tam advised.
How to make your own non-medical mask
There are several different ways to create your own reusable face mask at home that vary in level of difficulty. The most important part of creating your own mask at home is choosing the right material, such as cotton T-shirts, bandanas, or cloth fabric. If you’re still unsure whether or not a fabric is suitable, try conducting a light test.
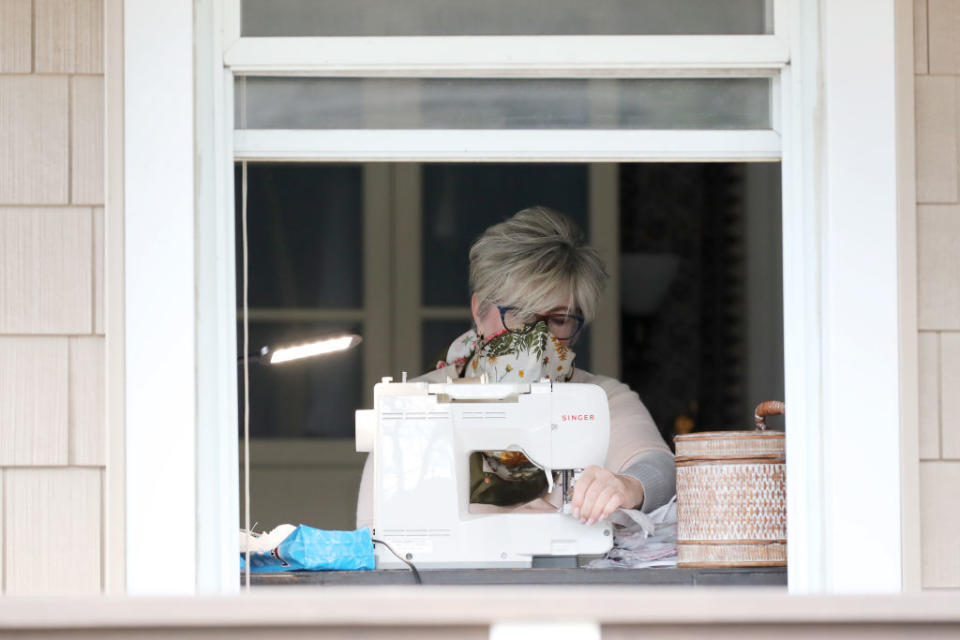
“Hold it up to a bright light,” said Dr. Scott Segal, chairman of anesthesiology at Wake Forest Baptist Health recently told The New York Times. “If light passes really easily through the fibres and you can almost see the fibres, it’s not a good fabric. If it’s a denser weave of thicker material and light doesn’t pass through it as much, that’s the material you want to use.”
Below are three methods to make your own non-medical mask at home approved by the Centre for Disease Control Prevention (CDC).
Method 1: The No Sew Method
What you’ll need:
A Bandana (1) - or any piece of appropriate cloth 20”x 20”
Hair elastics (2) -
Coffee filter (1)
Scissors (1)
Step 1:
The CDC recommends inserting a coffee filter into your homemade face mask to help filter respiratory particles.
To begin, cut the coffee filter in half horizontally. The top of the filter (where it’s widest) will be used for the mask.

Step 2:
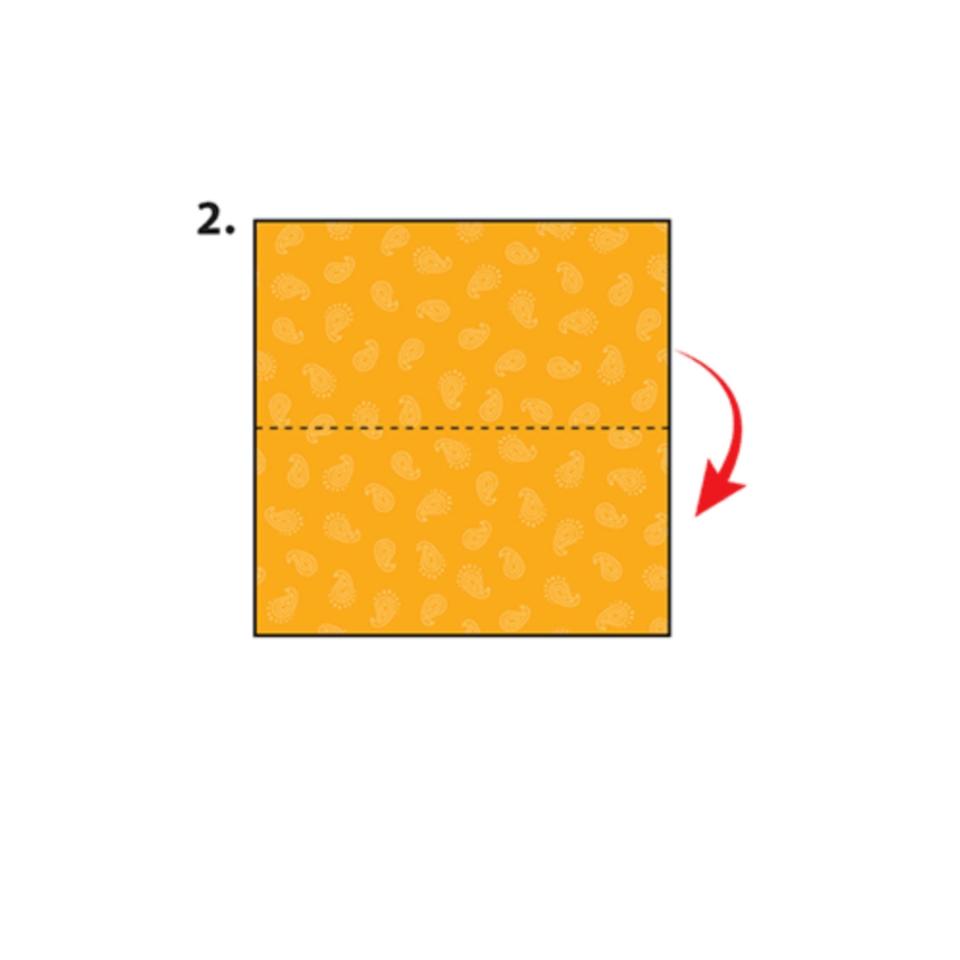
Fold your bandana or fabric in half, from top to bottom. Place the coffee filter in the middle of the folded bandana.
Step 3:
Secure the filter into the bandana by folding the top down, and the bottom of the bandana up.

Step 4:
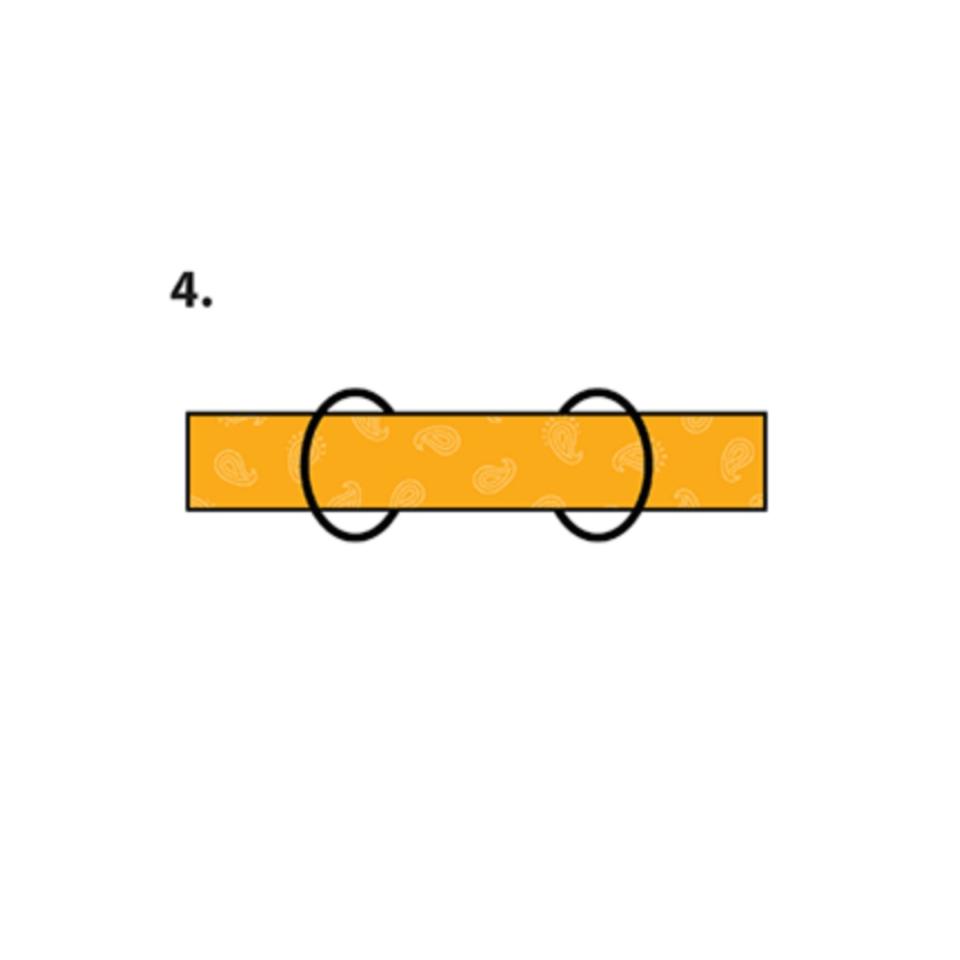
Take your hair elastics (or any rubber ties) and place them approximate 6” apart on either side of the folded bandana, making sure there is still fabric on either side of each elastic.
Step 5:
Take the extra fabric on either side of each elastic and fold it towards the middle of the bandana, tucking it in and through the loop of each elastic.

Step 6:
Place the mask over your mouth and nose (being careful not to touch the front of your face) and loop each elastic over your ear.

Note: Be sure to wash your bandana (or fabric) after use. Replace the coffee filter and reassemble with freshly clean fabric before wearing.
Need more help? Check out this helpful video tutorial.
Method 2: The T-shirt Method (No Sewing)
What you’ll need:
A cotton T-shirt (1) *Be sure to do a light-test on the t-shirt you select before creating your mask.
Scissors (1)
Step 1:
Lay the T-shirt flat, and place your scissors approximately 8” from the bottom of the shirt, and cut a straight line across the shirt.

Step 2:
Cut out 6-7” rectangle from one side of the shirt, leaving about an inch of fabric at the top and bottom.

Step 3:

Cut the thin pieces of fabric to make ties for your mask.
Step 4:
Unfold the mask. Tie the lower pieces of fabric around your neck, and then place the mask over your mouth and nose. Use the top to pieces of fabric to secure your mask at the top of your head.

Note: Avoid touching the area that covers your mouth and nose with your hands. Always wash your mask between uses.
Method 3: Sewn Face Mask
What you’ll need:
Two rectangles of 10” x 6” fabric
Two pieces of 6” elastic band
Needle and thread
Sewing machine
Step 1:
Iron both pieces of 10”x 6” fabric, and layer one on top of the other.

Step 2:
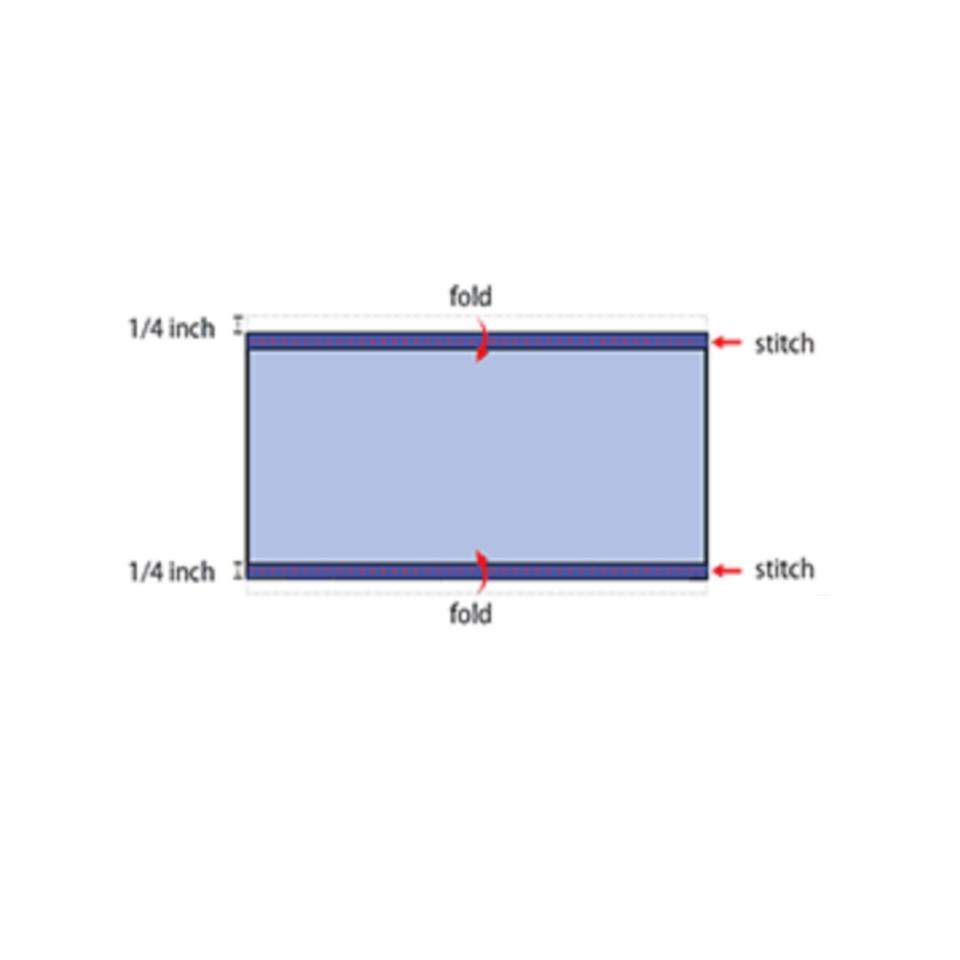
Fold a 1/4” hem on the top of the fabric (the long side) and hem using your sewing machine.
Step 3:
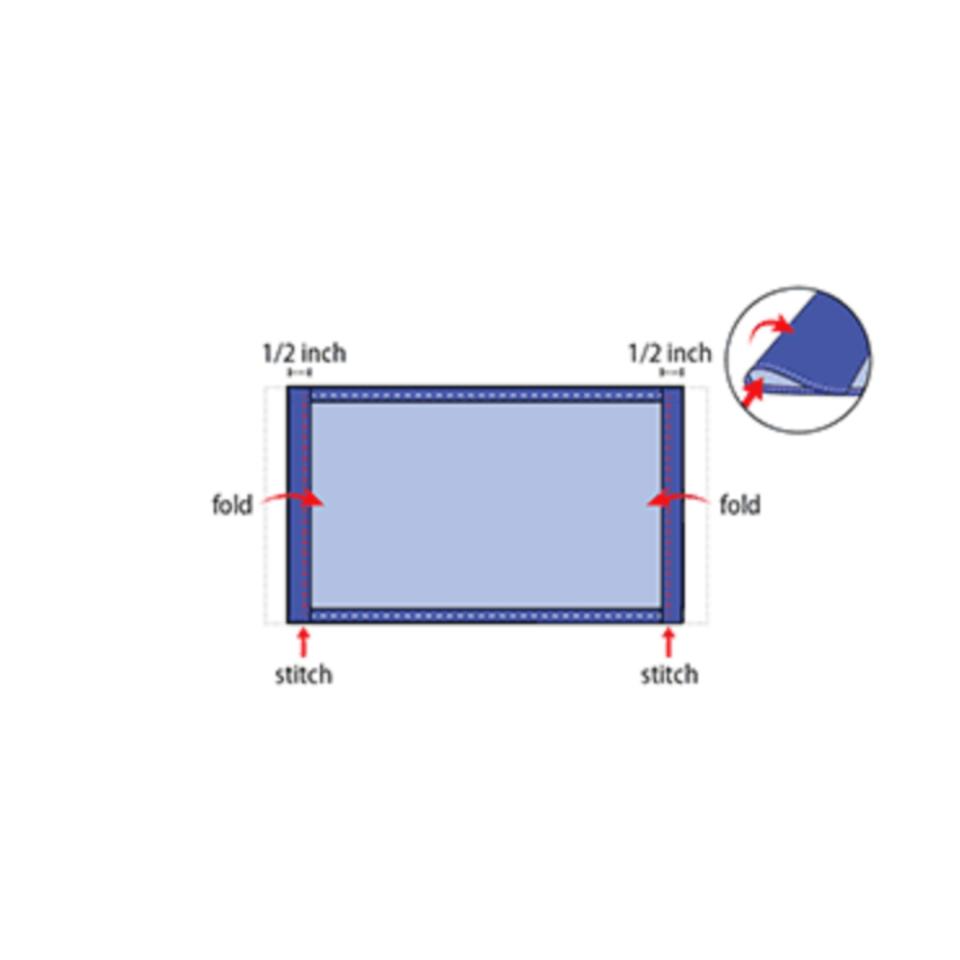
Fold a 1/2” hem on the sides of the fabric (the shorter side) and hem into place.
Step 4:
Take the elastic band and thread it through the small opening where the 1/2” hem meets the fabric. Once the band is threaded through.
Repeat on the other side.

Step 5:
Tie the elastic bands together on each side, and tuck the knot back into the mask so that it’s hidden from sight. Gather the sides of the mask so that it is is wide enough to cover your face. Make two stitches at the top and bottom of the mask to secure the elastic (with the hidden knot) into place.

Note: You can sew your mask by hand using a basic running stitch or back stitch if you don’t have access to a sewing machine.
Let us know what you think by commenting below and tweeting @YahooStyleCA! Follow us on Twitter and Instagram and sign up for our newsletter.


